
Creating a low-maintenance home life should be a priority for everyone in the modern era. After all, spending less time on keeping your property under control means you’ll have more time for adventures. Likewise, it will significantly improve your relationship with the home.
However, it is vital that you implement the best steps to create a convenient, comfortable, and cost-effective home life. Focus on the five ideas below and you won’t go far wrong.
Create a low-maintenance garden
A beautiful garden adds a whole new dimension to your home life. However, it’s also a space that may require lots of maintenance. Therefore, a conscious effort to reduce this problem is the first thing every homeowner should do. Upgrading to Palmetto grass or another low-maintenance solution will make an instant impact. Other additions include decking, patios, and evergreen plants. Adding a garden building is another fantastic option.
It enables you to spend less time working on the garden and more time actively enjoying it for years to come.
Use modern tech to your advantage
Modern tech features enhance our lives in many ways, especially if you know which tech is worth your investment. Robotic vacuums, air purifiers, and appliances that take care of housework are all ideal. You can use self-cleaning water bottles and similar gadgets to save valuable minutes throughout the day. It adds a level of convenience to your daily life that will improve your feelings towards the property.
Focus on these additions rather than the unnecessary luxury additions. Your home will become a happier environment.
Reduce clutter
When the property is filled with clutter, it becomes very difficult to enjoy it. Similarly, you will find that it is very hard to clean the property as there are too many nooks and crannies to reach. Therefore, a thorough decluttering session that includes selling unwanted items is ideal. Space-saving furniture, digital streaming services, and wall-mounted shelving are all great additions. This will save valuable floor space and make your life easier.
It is a pretty easy upgrade to complete. Once you have finished the process, the benefits will be seen daily.
Choose the right interiors
Selecting an interior design that looks great is one thing. But finding one that remains looking great is another. Nylon carpet can be a smart flooring choice as it doesn’t need cleaning multiple times per day like hard floors. Yet it also avoids the issues other carpet materials face regarding long-term requirements. Quartz kitchen countertops and easy-care furniture should also feature throughout the home. It will make life a lot easier.
Crucially, you should know when it is worth paying a little extra for items that are built to last for many years. In the long run, it can save you dearly.
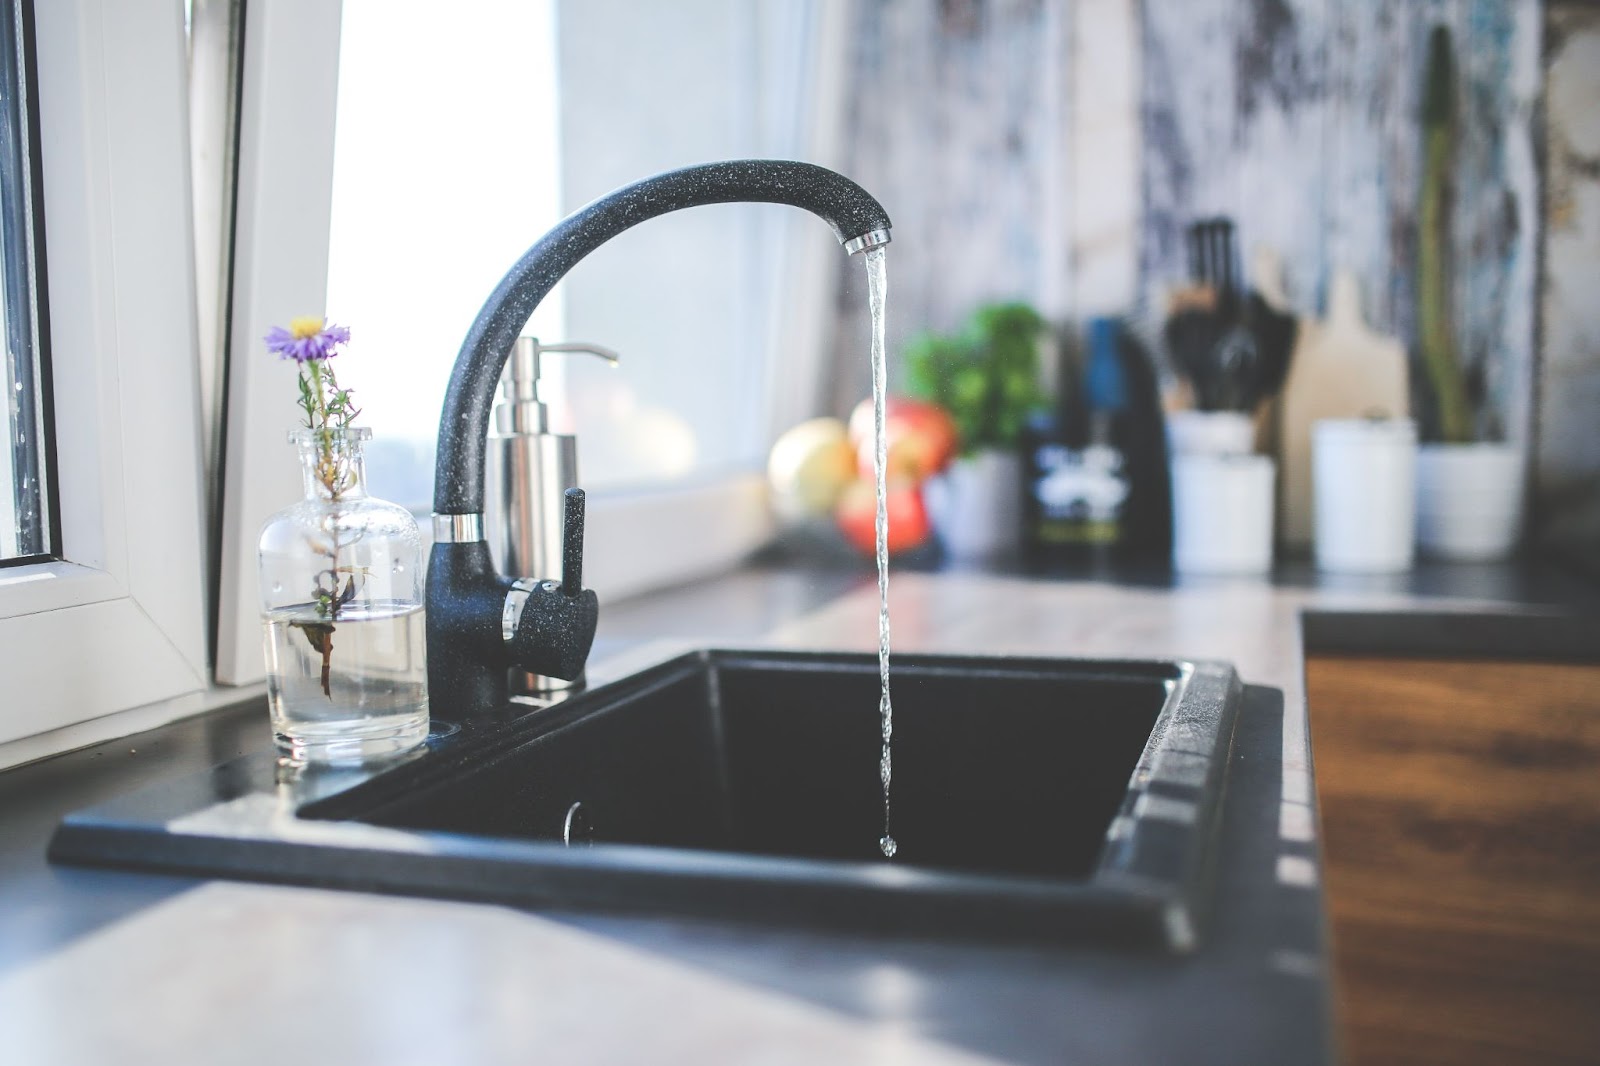
Fix minor faults
Finally, taking a proactive approach to fault fixing in the home will save you a lot of time and money in the long run. Treating a minor leak as soon as you notice the symptoms will prevent the damage from spreading and escalating. Similarly, boiler and appliance issues can often be repaired if you act quickly, saving you from further problems down the line. Even if you have to call an expert, it is far better than ignoring the signs of pending danger.
In other words, the “little and often” approach to maintenance is far better than waiting until you are overwhelmed.


